
The basic setup of Hugo on your local computer is easy, and well documented:
-
Go to the folder in which you want to create the Hugo site structure. In my case this was
C:\Users\UserName\Documents\ -
Run the command
hugo new site yoursitename.TipIn a Windows environment, I recommend using Windows Terminal. The result will be a new site with the following folders and files:
archetypes
content
data
layouts
resources
static
themes
.hugo_build.lock
config.toml
However, you can’t run the Hugo server until you apply a theme. I initially chose the Navigator theme but after a while swapped to using the Airspace theme. I liked the fact that the newer Airspace theme uses SCSS rather than plain CSS.
To install the Airspace theme, do the following:
-
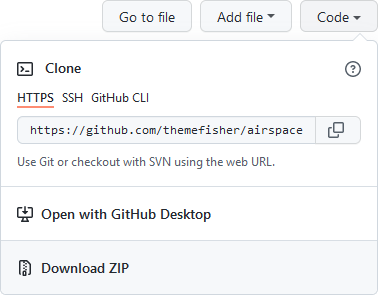
Go to https://github.com/themefisher/airspace-hugo and click :
-
Extract the contents of the downloaded ZIP file.
-
Rename the resulting folder from
airspace-hugo-mastertoairspace-hugo. -
Copy the folder into the
themesfolder in your new Hugo site. -
In the
airspace-hugofolder, go to theexampleSitefolder. -
Copy the contents of the
exampleSitefolder:assets config content i18n static nelify.toml
-
Go to the root folder of the Hugo site and paste the contents. This will replace the empty folders that were in the root folder.
-
Go to the
themesfolder and delete theexampleSitefolder. -
Return to the root folder and run the command
hugo server. You should now see a URL at which the generated site is available:Web Server is available at http://localhost:1313/airspace/ (bind address 127.0.0.1)